Patio drainage planning should happen before concrete or pavers go in because a new hard surface changes where rainwater travels. Check the yard slope, low spots, downspouts, door thresholds, and a safe place for water to go before choosing the final patio height and shape. That early check can help prevent puddles on the patio or runoff moving toward the house.
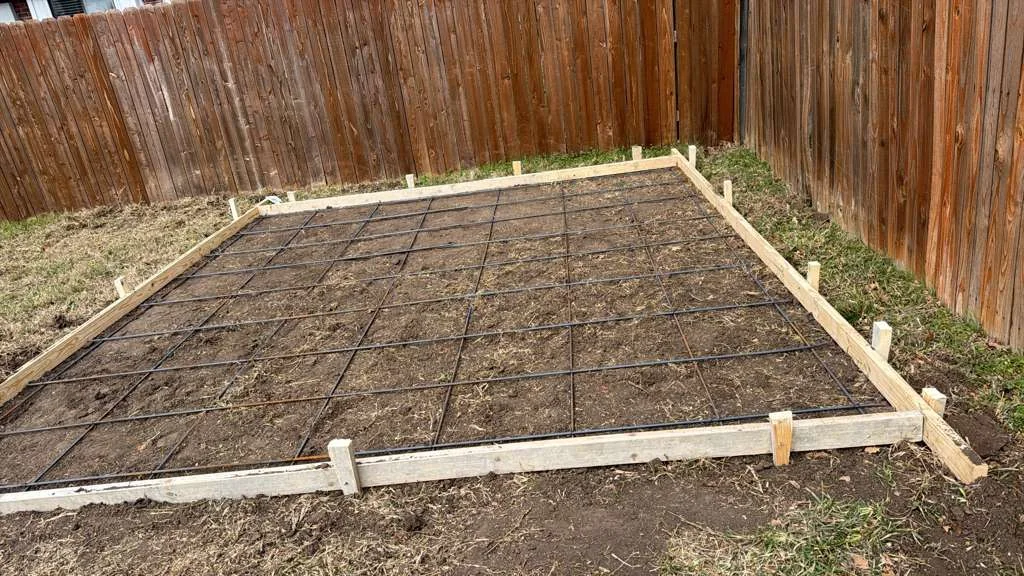
A patio changes the path of rainwater
Grass and soil absorb some rain. Concrete and pavers do not absorb water in the same way. Rain that once spread across a yard may run along the new patio edge, collect at a corner, or head toward the house.
That matters in Dallas, where a sudden storm can send a lot of water across a small yard quickly. Clay-heavy soil may also drain slowly. A tight side yard can leave little room to redirect water after the patio is built.
The City of Dallas links added impervious coverage, which includes hard surfaces that limit water soaking into the ground, with greater stormwater runoff and flooding impacts. See the City of Dallas discussion of impervious coverage for that broader concern. A patio is only part of a property, but its placement can still change how water behaves around the home.
Set the patio height and slope before work starts
Drainage starts with elevation. The finished patio needs to work with the door threshold, existing yard grade, nearby walkways, and the bottom of exterior walls. If the patio is set too high, water can be directed toward the house or create an awkward step at a door. If it is set too low, it may become a basin.
The Building America Solution Center says impervious surfaces within 10 feet of a home should slope away from it. The ENERGY STAR guidance cited on that page calls for a minimum slope of 0.25 inch per foot. That figure is a reference point, not a ready-made answer for every yard.
For paver work, Unilock’s paver installation guidance lists a general minimum 2 percent slope away from the home and urges contractors to make a drainage plan early. The needed pitch and final elevation depend on the site, where water can leave, and how the patio meets the house.
Look beyond the patio surface
A patio can slope away from the house and still create trouble if its runoff stops at a fence, side yard, planting bed, or neighbor-facing edge. Before installation, follow the likely water route from the patio to its outlet. Ask what happens after water reaches the edge.
- Will it spread into a part of the yard that already stays wet?
- Will it run into a low spot beside the patio?
- Will a gate, retaining edge, fence, or wall block the route?
- Could it wash soil or mulch out of a bed?
- Does the outlet send water toward the home, garage, or another structure?
A visible route for water is better than hoping it disappears into a flat area.
Check these five things at the planning visit
Walk the space after rain if possible. You do not need special tools to spot many concerns. Photos and notes from a storm can help show where water starts and where it ends up.
- Low spots
Mark places where water stands in the lawn, along a fence, near steps, or beside the foundation. A patio should not feed more water into those spots without a plan. - Downspouts
Find every downspout that releases water near the proposed patio. A downspout should not dump onto the finished surface, against a patio edge, or into a corner with no outlet. - Door and threshold heights
Measure the relationship between the planned patio and exterior doors. This helps the installer plan a surface that works with the entry while keeping the slope directed away from the house. - Existing grades and hard surfaces
Notice the slope of the yard, driveway, walkways, and neighboring concrete. Water can arrive from these surfaces before it ever reaches the new patio. - Discharge point
Identify where patio runoff can go. If there is no clear route, the layout or drainage approach may need to change before construction.
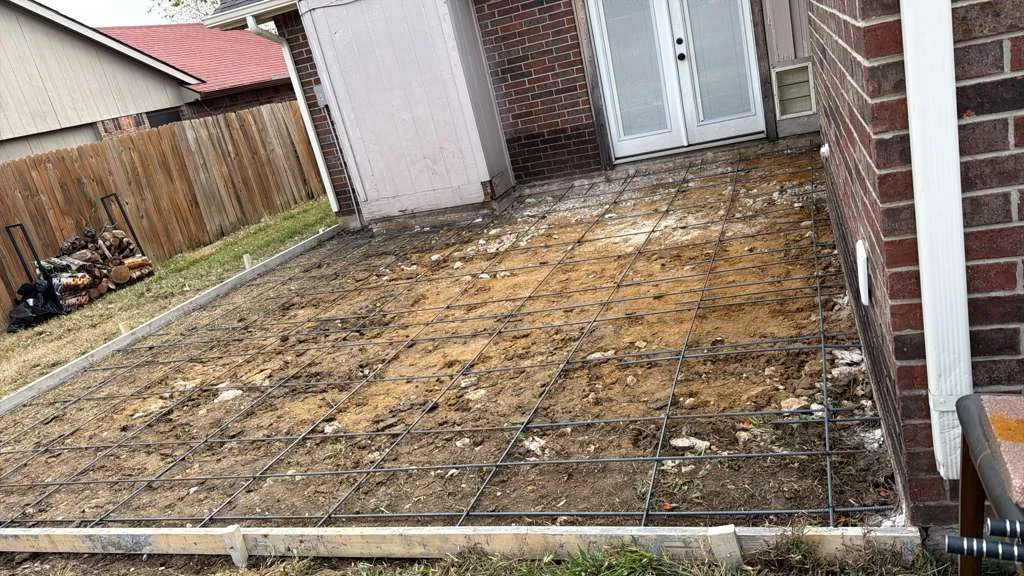
Choose the drainage approach that fits the yard
The right solution depends on the grade, available space, soil, and amount of water. Some patios only need careful pitch and grading. Others need a feature that collects or redirects water. Do not select a drain by appearance alone. It has to connect to a workable outlet.
| Site condition | Planning question | Possible direction |
|---|---|---|
| Yard falls away from the house | Can the patio follow that path without creating a low edge? | Shape the finished surface and nearby grade so water continues away. |
| Flat yard with ponding | Where can collected water travel after leaving the patio? | Review grading, a shallow swale, or a drain route before the patio layout is fixed. |
| Downspout lands near the patio | Can roof water be moved away from the patio area? | Plan downspout management with the patio drainage path. |
| Patio is boxed in by fences or walls | Is there room for water to exit at the low side? | Consider whether a collection drain or a different patio shape is needed. |
| Water enters from a side yard | Will the new surface block, speed up, or redirect that flow? | Address incoming runoff before it reaches the patio. |
A swale is a shallow, sloped channel in the landscape that guides water. A surface drain catches water at a low point. A French drain uses a gravel-filled trench and perforated pipe to collect water below ground. Each has limits, so the outlet and site conditions should be checked first.
Concrete and pavers need the same water plan
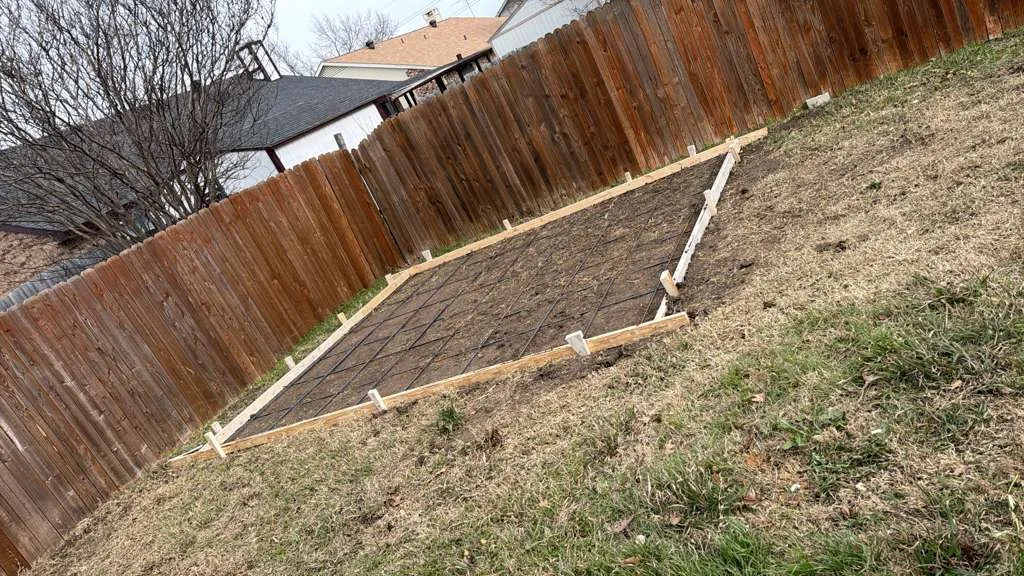
Concrete patios and paver patios use different materials, yet both need a planned slope and water route. The base under the surface also matters because it supports the patio and affects how water moves below it.
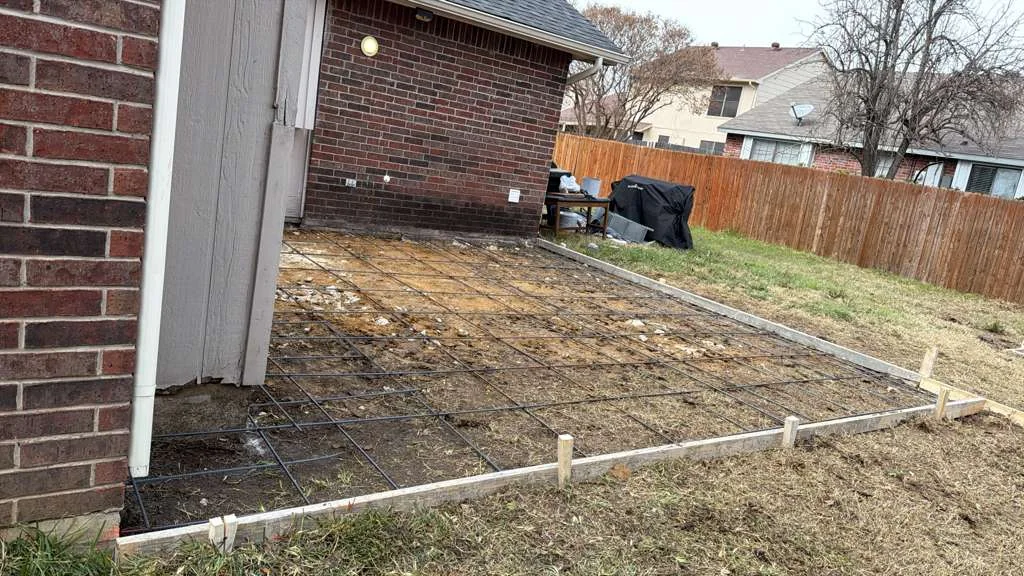
With concrete, the surface pitch is set before the slab is placed. Changing it later can be difficult. With pavers, the final paver elevations, edge restraints, and base all need to support the intended drainage path. Joints between pavers do not remove the need for a drainage plan. Water may pass through joints, but it still needs a place to go through and away from the base.
If you are weighing materials, discuss the water plan while reviewing Paver patio installation options. Material choice should follow the site plan, not replace it.
Do not build first and solve ponding later
Adding drainage after a patio is finished may require cutting concrete, lifting pavers, changing landscaping, or working around structures already in place. Those steps may be possible, but they are more limited than planning the water route before installation.
Watch for warning signs that call for a closer look before work begins.
- Water already pools near the house after rain.
- A downspout empties into the planned patio area.
- The yard is flat or slopes toward the house.
- The patio will reach a fence line, retaining edge, or narrow side yard.
- Water crosses the lot from a neighboring property.
- There is no obvious place for runoff to leave the patio.
Buried utilities, soil condition, property drainage patterns, and local requirements can affect the final plan. A site review can identify questions that need answers before excavation or placement.
Bring the right questions to your patio estimate
A useful estimate conversation should include the water path, not only patio size, color, and finish. Expert Home Remodelers states that its concrete patio site visits review slope, low spots, runoff paths, thresholds, and transitions. Its process also considers pitch, downspout management, edge transitions, and tie-ins before concrete placement. Learn what to expect from its Concrete Patio Installation service.
Ask these questions before you approve the layout.
- Where will the finished patio be highest and lowest?
- Which direction will the surface drain?
- What happens to water from each nearby downspout?
- Where does water go once it reaches the patio edge?
- Are existing low spots being corrected, avoided, or sent more runoff?
- Would grading, a swale, or a drain need to be done before the patio?
- How will the patio meet doors, lawn, walkways, and landscape beds?
Frequently asked questions
Can a patio drain toward a lawn?
It may, if the lawn has enough grade and a clear route for water to keep moving away from the house. A lawn that already ponds or sits behind a fence or border may not be a suitable outlet without more drainage work.
Should downspouts go under a new patio?
They can affect the design, but the route, pipe condition, outlet, and future access all need review before the patio is built. Do not bury or reroute a downspout path without knowing where its water will discharge.
Can I add a drain after the patio is installed?
Sometimes. The work may involve removing part of the surface or adjusting pavers and nearby grading. Planning the collection point and outlet before installation usually leaves more layout choices.
Does a patio need a permit in Dallas?
Permit needs can vary with the project scope, site work, drainage changes, and other features. Confirm current requirements with the City of Dallas and ask the contractor which project details may affect the review.
Ready to plan a patio in Dallas? Call Expert Home Remodelers at (682) 458-3062 to discuss concrete patio installation, your yard’s slope, and the drainage details to settle before work begins.